
Eye-tracking data quality — how to prepare a study
Six steps to control calibration, accuracy, precision, and session workflow before an issue affects the entire dataset.
A study where calibration drift is discovered only after recruitment ends does not simply yield “slightly worse” results. Part of the recording may be unassignable to areas of interest, requiring sessions to be repeated. The cost of such an error includes participant time, team labor, and re-running the protocol.
This can be prevented if data quality is treated not as a feature of the purchased device, but as the outcome of a reproducible procedure. Below, we distinguish between two frequently confused concepts, then walk through the environment, equipment, participant, calibration, piloting, and post-session control. These decisions determine whether a recording will be reliable and suitable for analysis.
1. Two concepts that must be kept separate
Accuracy according to the Tobii glossary, is the average angular distance between the true gaze point and the point measured by the eye tracker. It primarily describes systematic error: the measurement may be stable, but consistently offset from the target location. Precision describes the spatial angular variability between individual consecutive samples, calculated on raw data using the RMS method. It is a measure of spread, or measurement noise.
🎯 Interactive Accuracy and Precision Simulator (Target Simulator)
Test live how changing offset and noise affects sample distribution around the target:
Datasheet specifications describe capabilities achieved under specific testing protocols. Values “under optimal conditions” represent a ceiling, not a guarantee of performance in a given laboratory setting. Therefore, they must be interpreted alongside head positioning, filtering methods, and precision calculation techniques.
| Device | Accuracy | Precision |
|---|---|---|
| Tobii Pro Spectrum | median 0.30° under optimal conditions, with head support | 0.01° RMS under optimal conditions, S-G filter |
| Tobii Pro Fusion | 0.3° under optimal conditions | 0.04° RMS under optimal conditions, S-G filter |
| Tobii Pro Spark | 0.45° under optimal conditions | 0.26° RMS under optimal conditions |
| Tobii Pro Glasses 3 | 0.6° under optimal conditions | not specified by the manufacturer |
| Tobii Glasses X | 1.5°–2.5° under optimal conditions | not specified by the manufacturer |
2. Step one: define the study environment
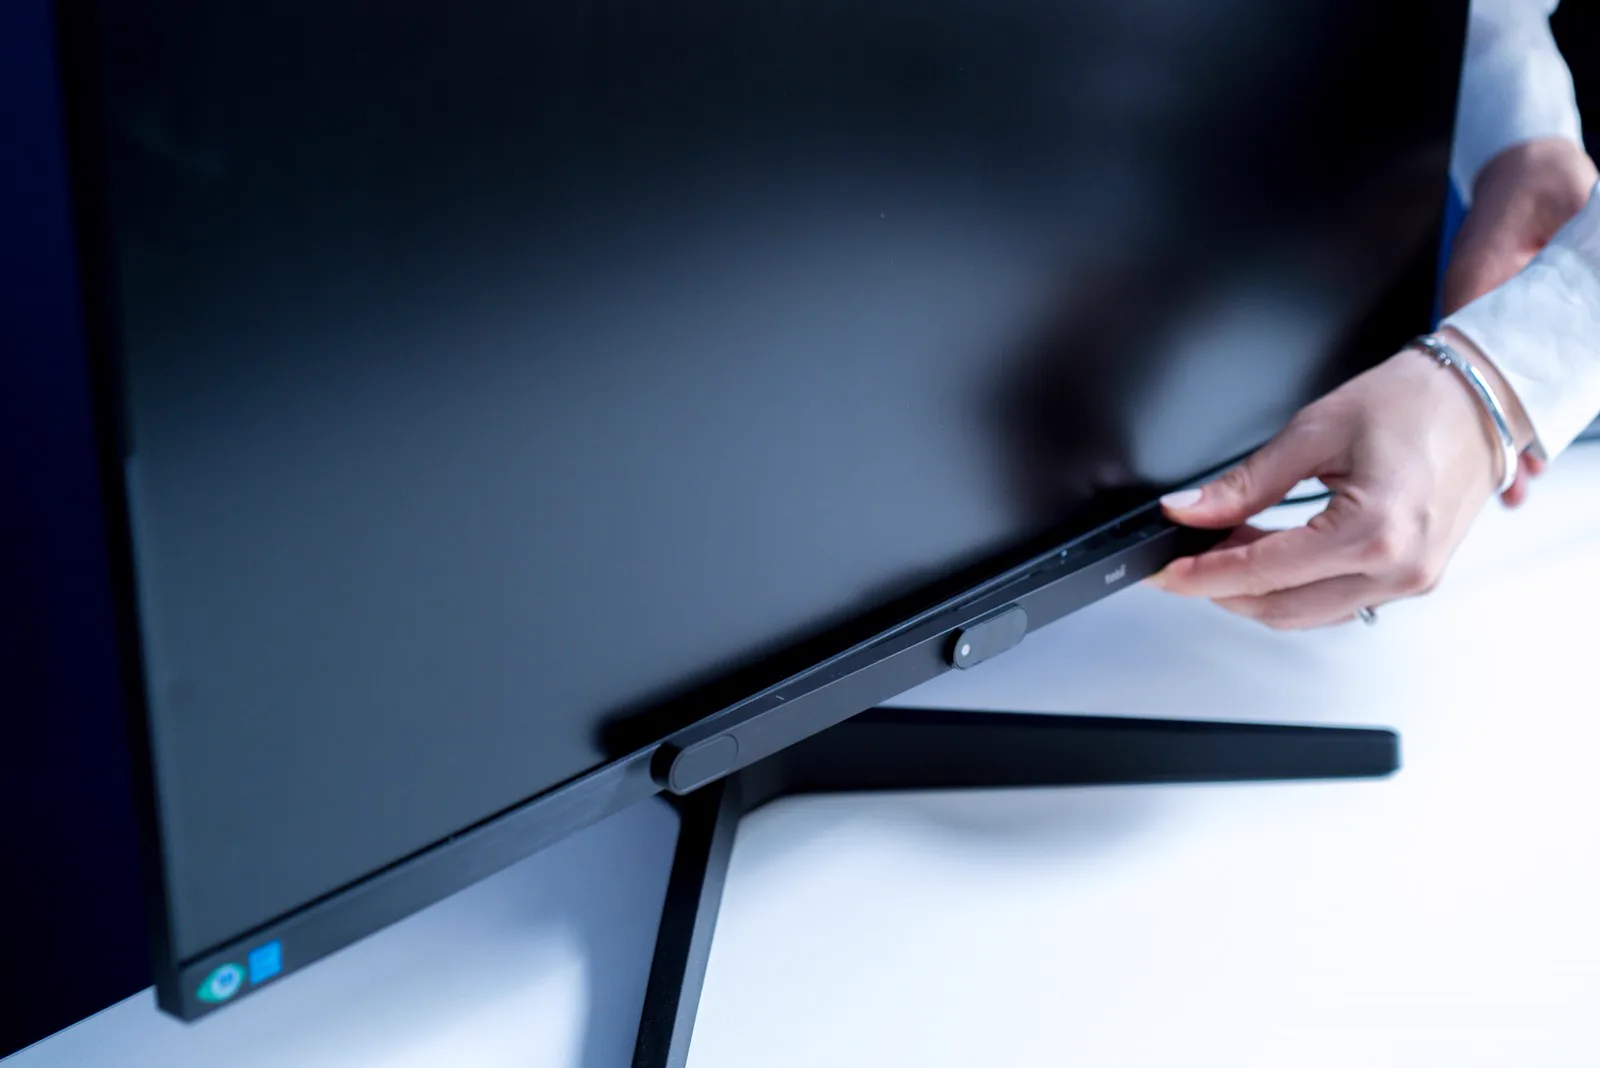
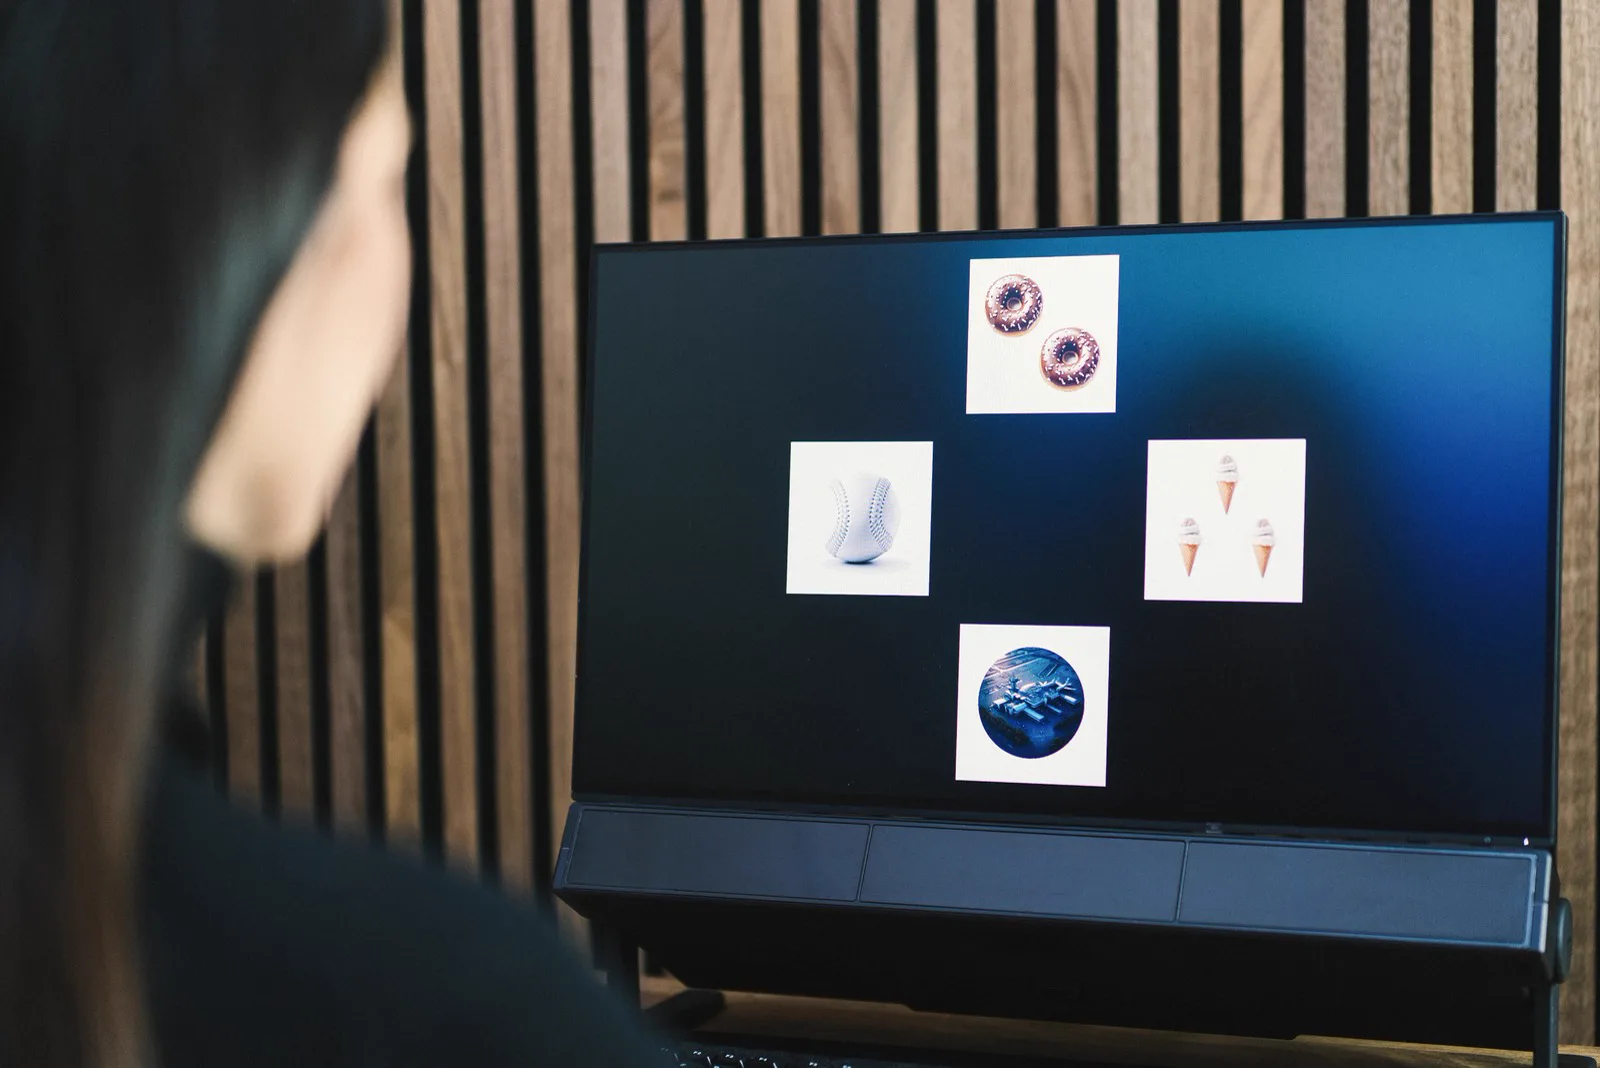
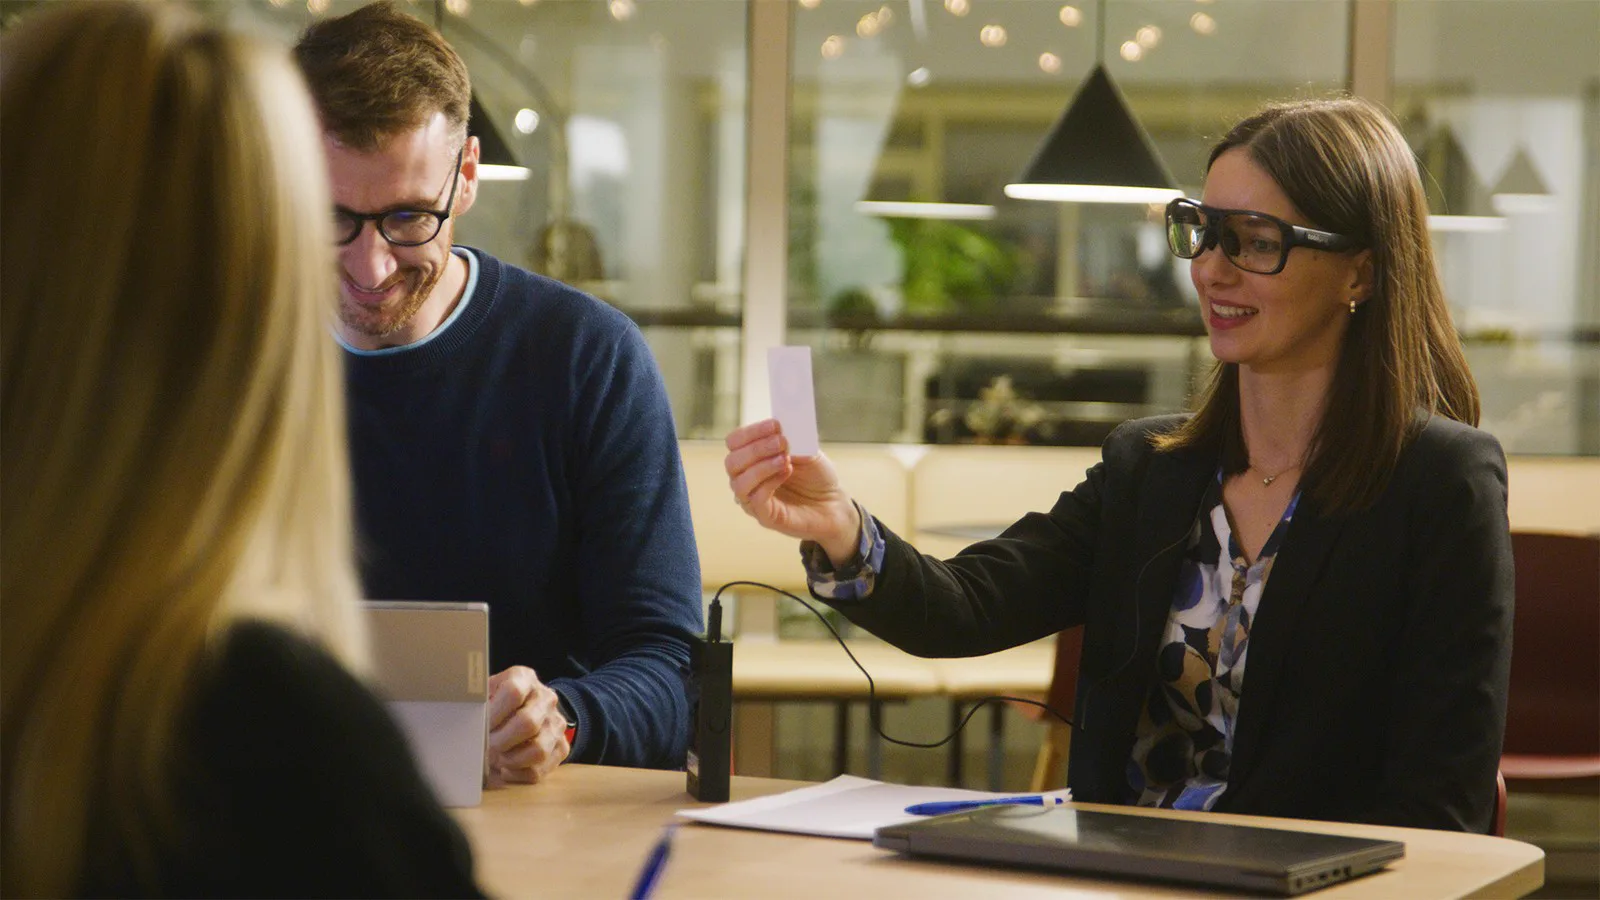
Preparation begins before unwrapping cables. In screen-based studies, stable ambient light must be ensured without harsh reflections or shifting patches of direct sunlight. Conditions must remain comparable across participants, as changes in reflection geometry and pupil size can affect gaze mapping.
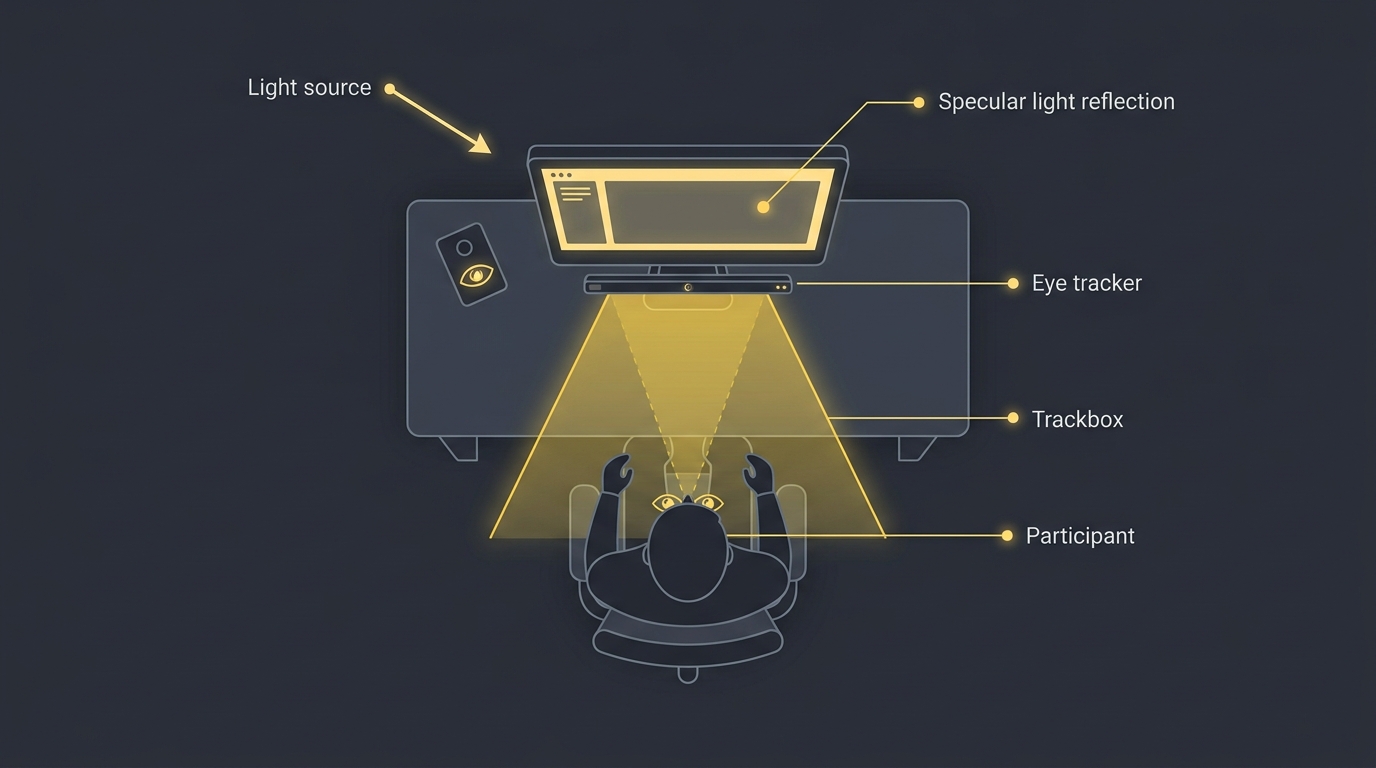
1 Desk & Monitor
Centered eye tracker position below the bottom bezel. Screen tilt angle compliant with device specifications.
2 Light Direction & Reflections
Ensure constant illumination without moving sunlight patches. Verify the absence of infrared reflections on the display surface.
3 Head-movement Box Boundary
Trapezoidal tracking volume keeping the participant’s head inside the usable operating region (55–75 cm for Spectrum).
4 Participant Position & Chair
Stable posture, comfortable chair in a reproducible position without accidental movement after calibration.
3. Steps two and three: prepare the equipment and participant
For screen-based systems, the setup workflow is straightforward: unpack, connect, align, and power on. The tracker must be mounted according to model guidelines and centered relative to the participant’s eyes. Then, in Tobii Pro Lab, verify device recognition and inspect the live eye view.
📏 Interactive Distance and Trackbox Tolerance Calculator
Adjust the slider for the participant’s distance from the display to check eye-tracking tolerance:

4. Step four: calibration and validation
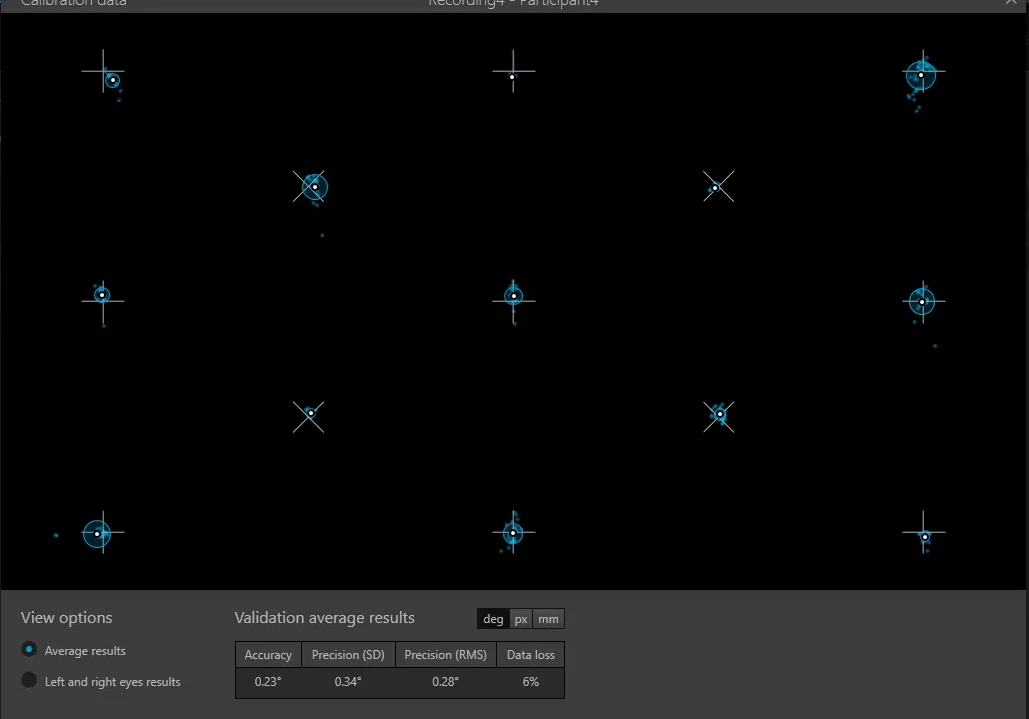
Calibration fits an eye model to an individual participant, but merely completing the procedure is insufficient. In Tobii Pro Lab, the workflow includes point collection, optimization, and separate validation.
🧪 Validation Decision Simulator in Tobii Pro Lab
Test two validation report scenarios before starting formal recording:
5. Step five: run a complete pilot session
Rule number one
“Never run your first session with a participant you’re paying for or scheduling formally.”
The first session is a pilot with a team member, not a formal participant recording. — Tobii, Eye tracking setup: A step-by-step guide for reliable results.
The pilot run should reproduce the entire study workflow, not merely confirm that the device saves a file. Walk through instructions, calibration, stimulus presentation, tasks, event triggers, and session termination.
6. Step six: run, check, repeat
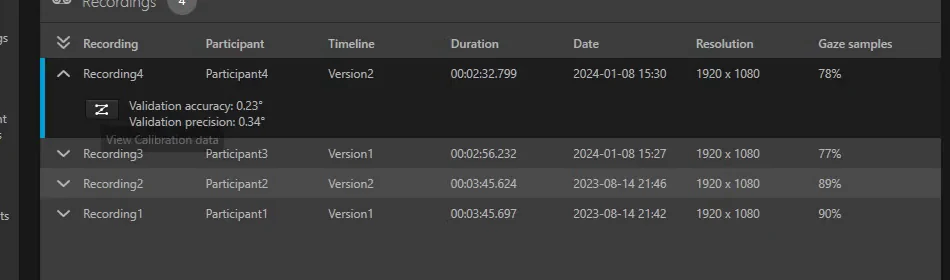
A successful pilot does not eliminate the need to review actual sessions. Inspect a brief segment of data in Tobii Pro Lab immediately after completion.
📊 Gaze Samples Health Indicator Simulator
Adjust the gaze samples slider from the recording list to view moderator recommendations:
7. What calibration cannot fix
AOI boundaries and a margin derived from system accuracy. With adjacent areas of interest and accuracy of 0.2–0.5° in screen-based systems or from 0.6° in wearable setups, assigning a fixation lying on an edge can be ambiguous.
🔍 Margin of Error Simulator for Adjacent AOIs
No margin (0.0°) — Error Risk!
See how accuracy error (0.4°) causes fixations to spill into adjacent buttons without a safety margin (~0.5°):
8. Summary: operator procedure
Pre-session operator checklist
0 / 5 completed
Interactive checklist for lab station protocol:
Data Quality Glossary
Trackbox
Head movement volume in which at least one eye remains within the eye tracker’s field of view.
Operating distance
Minimum and maximum distance between eyes and sensors maintaining stable tracking.
Blink recovery time
Tracking recovery duration following brief pupil occlusion when head position remains unchanged.
Gaze recovery time
Gaze re-acquisition latency following tracking loss; under 150 ms for Pro Spectrum.
Eye openness
Diameter of the largest sphere inscribed between eyelids, reported in millimeters per eye.
Binocular and Monocular Calibration
Binocular mode processes data from both eyes independently; monocular optimizes the eye model specifically for a single eye.
Read further
Sources
- Tobii — Eye tracking setup: A step-by-step guide for reliable results — six steps for session preparation and control.
- Tobii Connect — Eye tracker calibration and validation — calibration phases, validation, and quality report.
- Tobii Connect — Tobii eye tracker glossary — definitions of accuracy, precision, and tracking parameters.