
Accurate testing starts with an accurate zero.
A step-by-step 1-jumper reference procedure, TRC verification, and seven errors that can skew an entire batch of test results.
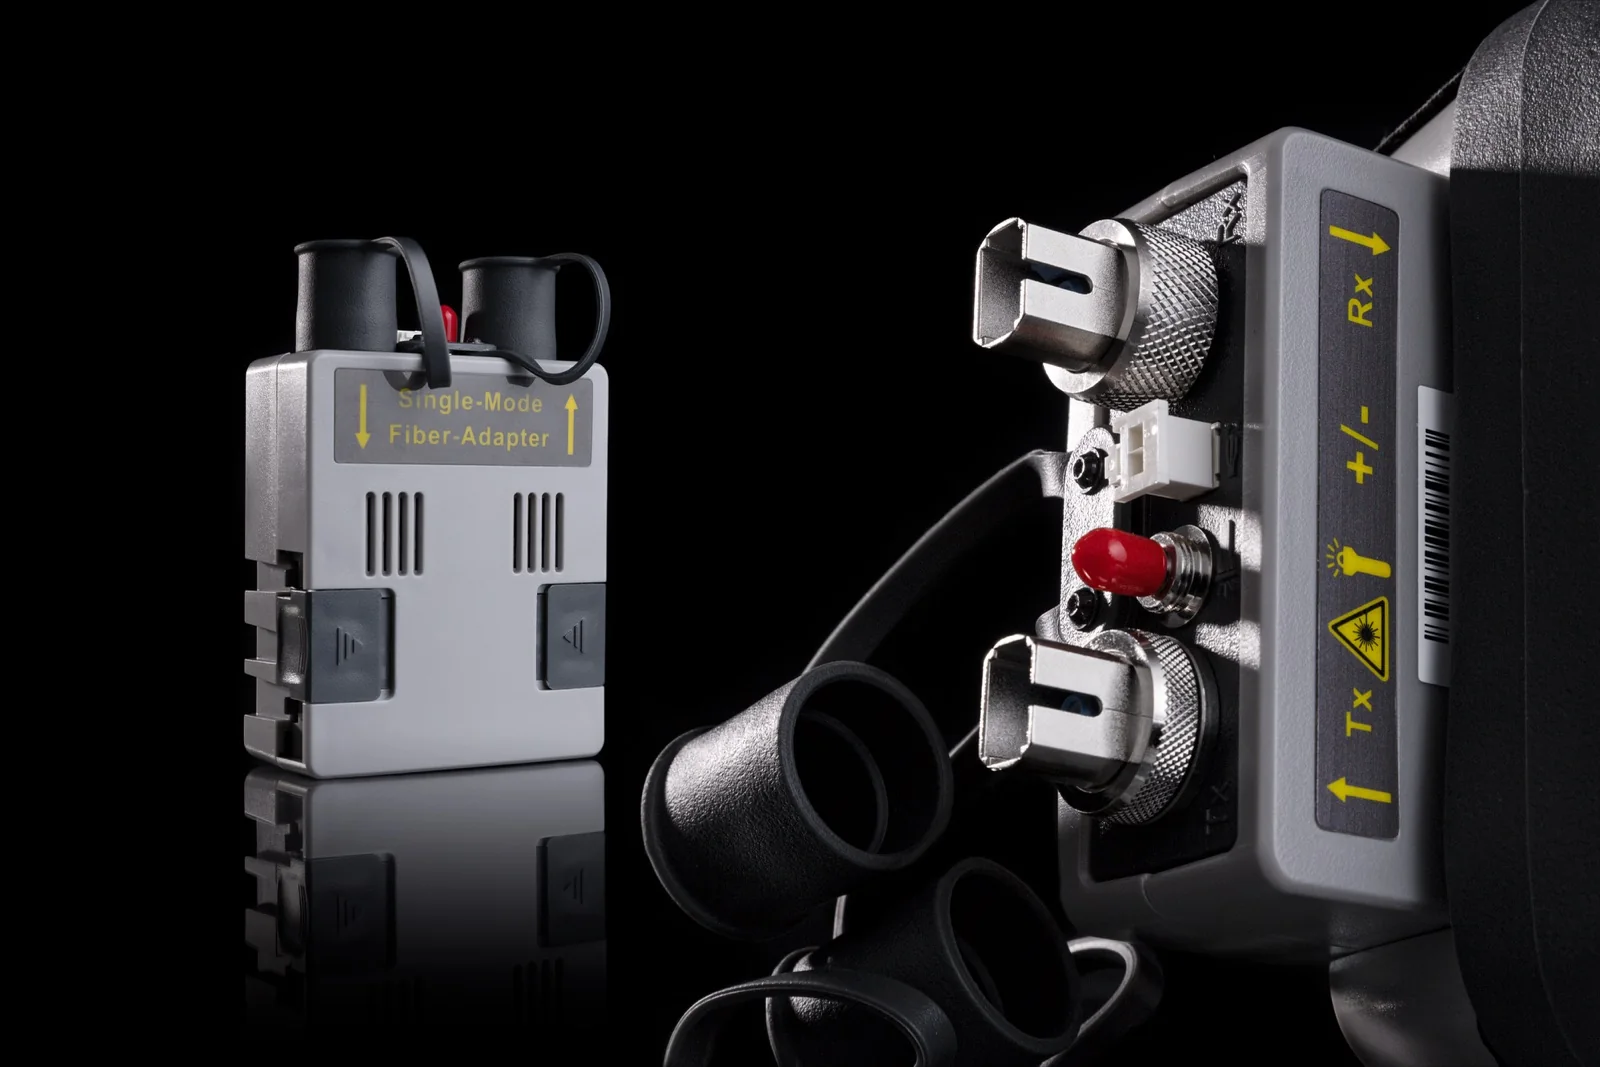
Do not confuse power with loss.
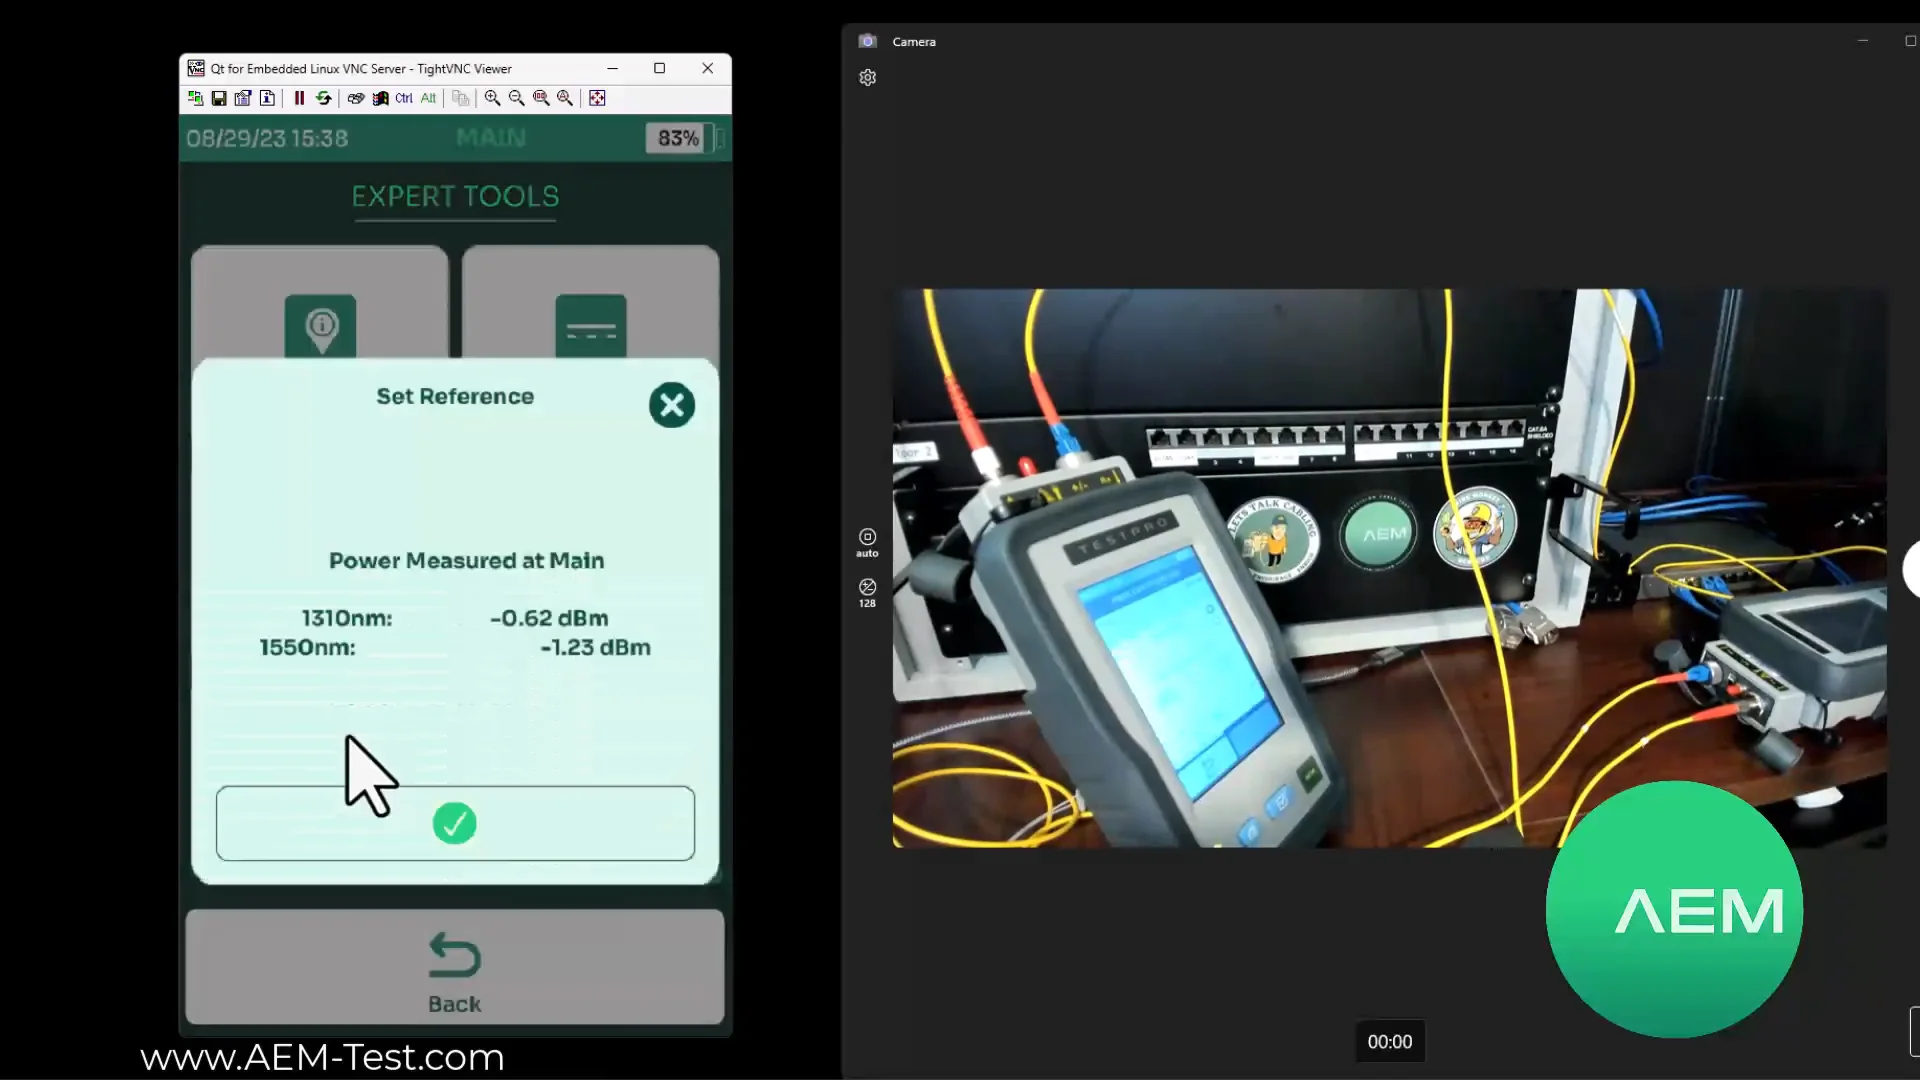
Two stages of the procedure use different units and acceptance criteria. Match the values displayed by the tester to see immediately whether you are ready to begin testing.
Test readiness assessment
One, two or three jumpers? The reference plane is what matters.
Select a method to see which connections enter the baseline. More jumpers do not create a “better” result — they change what the tester subtracts from the measurement.
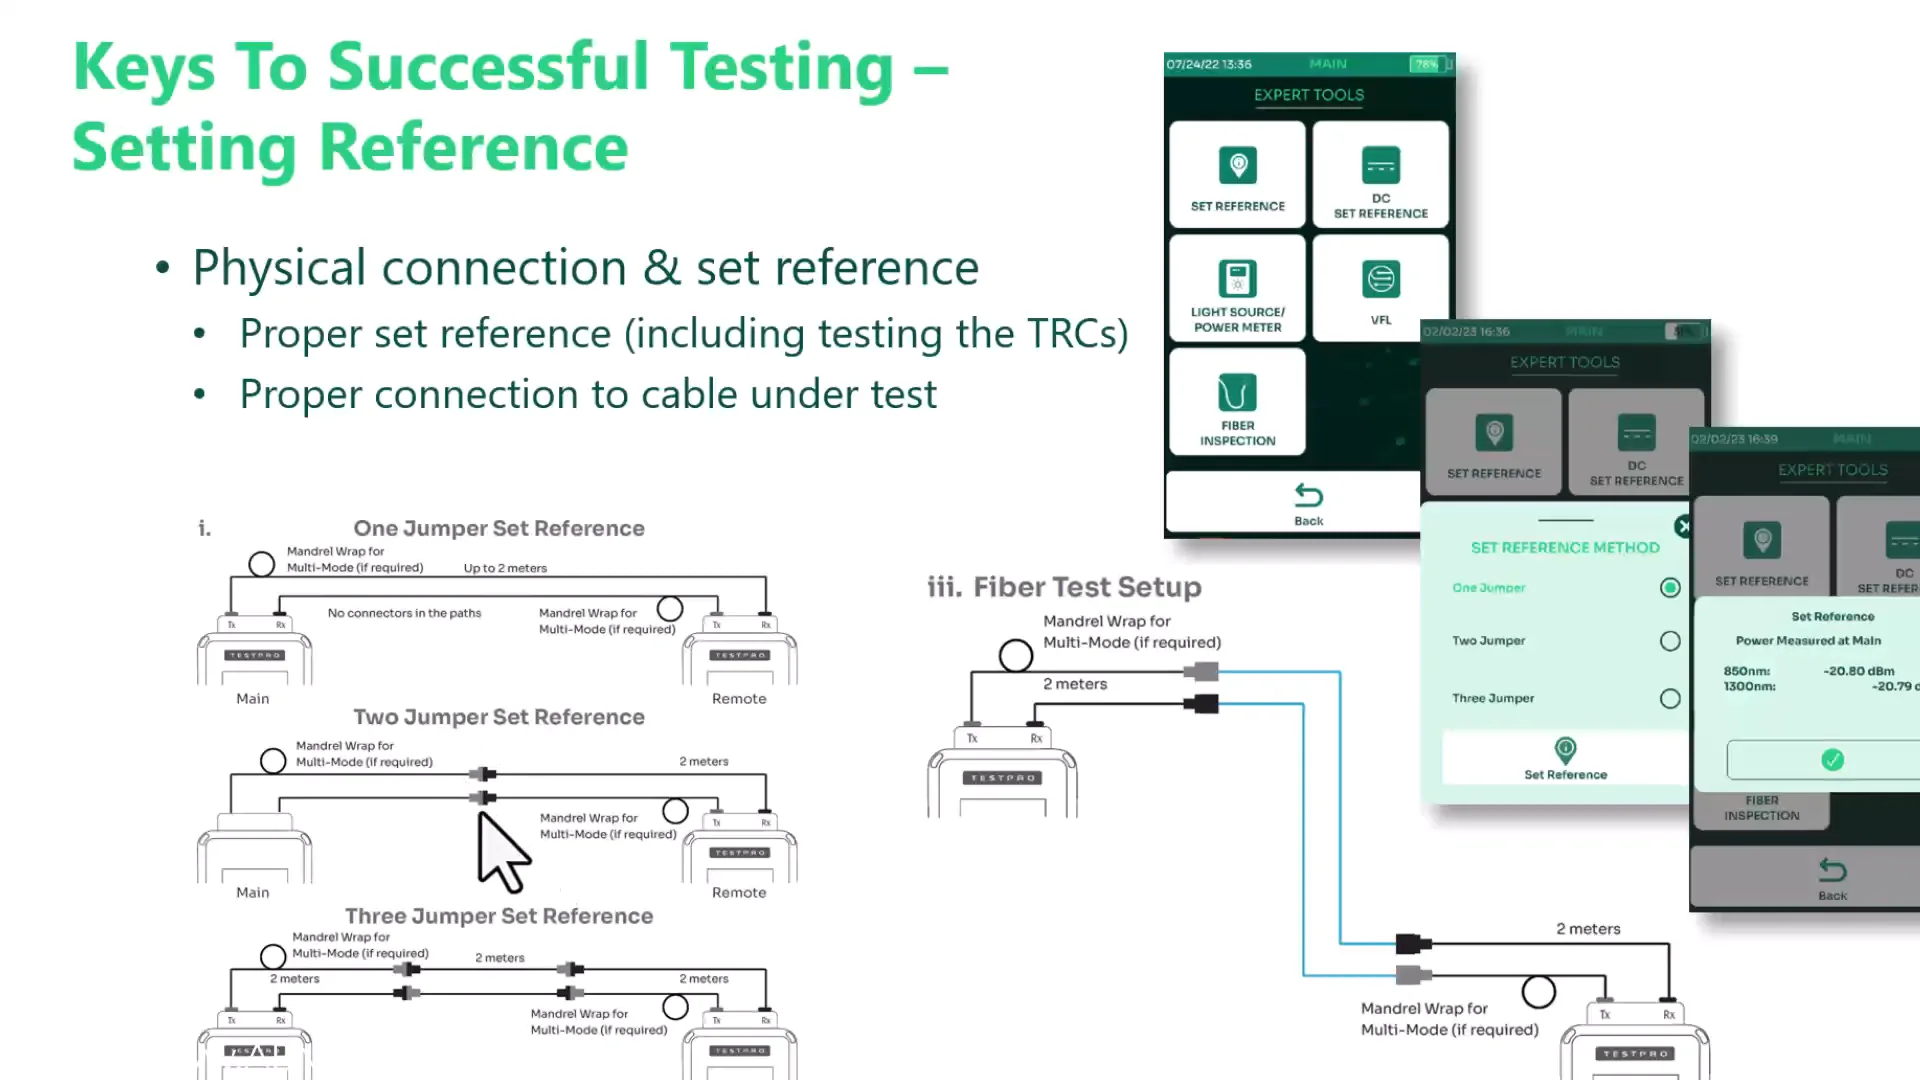
One TRC per direction with no intermediate connection
Both end connector pairs of the link remain in the final result. This is the preferred method for a typical panel-to-panel link when the interfaces allow it.
Add the second TRC on the receive side — after setting the reference.
This verifies the cord used to connect the link; it does not turn the setup into a two-jumper reference. The Tx connection stays untouched throughout.
CLEAN
INSPECTAUTOTEST
PASS
Lock the Tx connection
After Set Reference, never disconnect the cord from the Tx port. Disturbing this connection means setting the reference again.
A workflow that removes the guesswork.
Follow all seven stages. The diagram identifies which connections must remain untouched after the reference is set.
Project and method
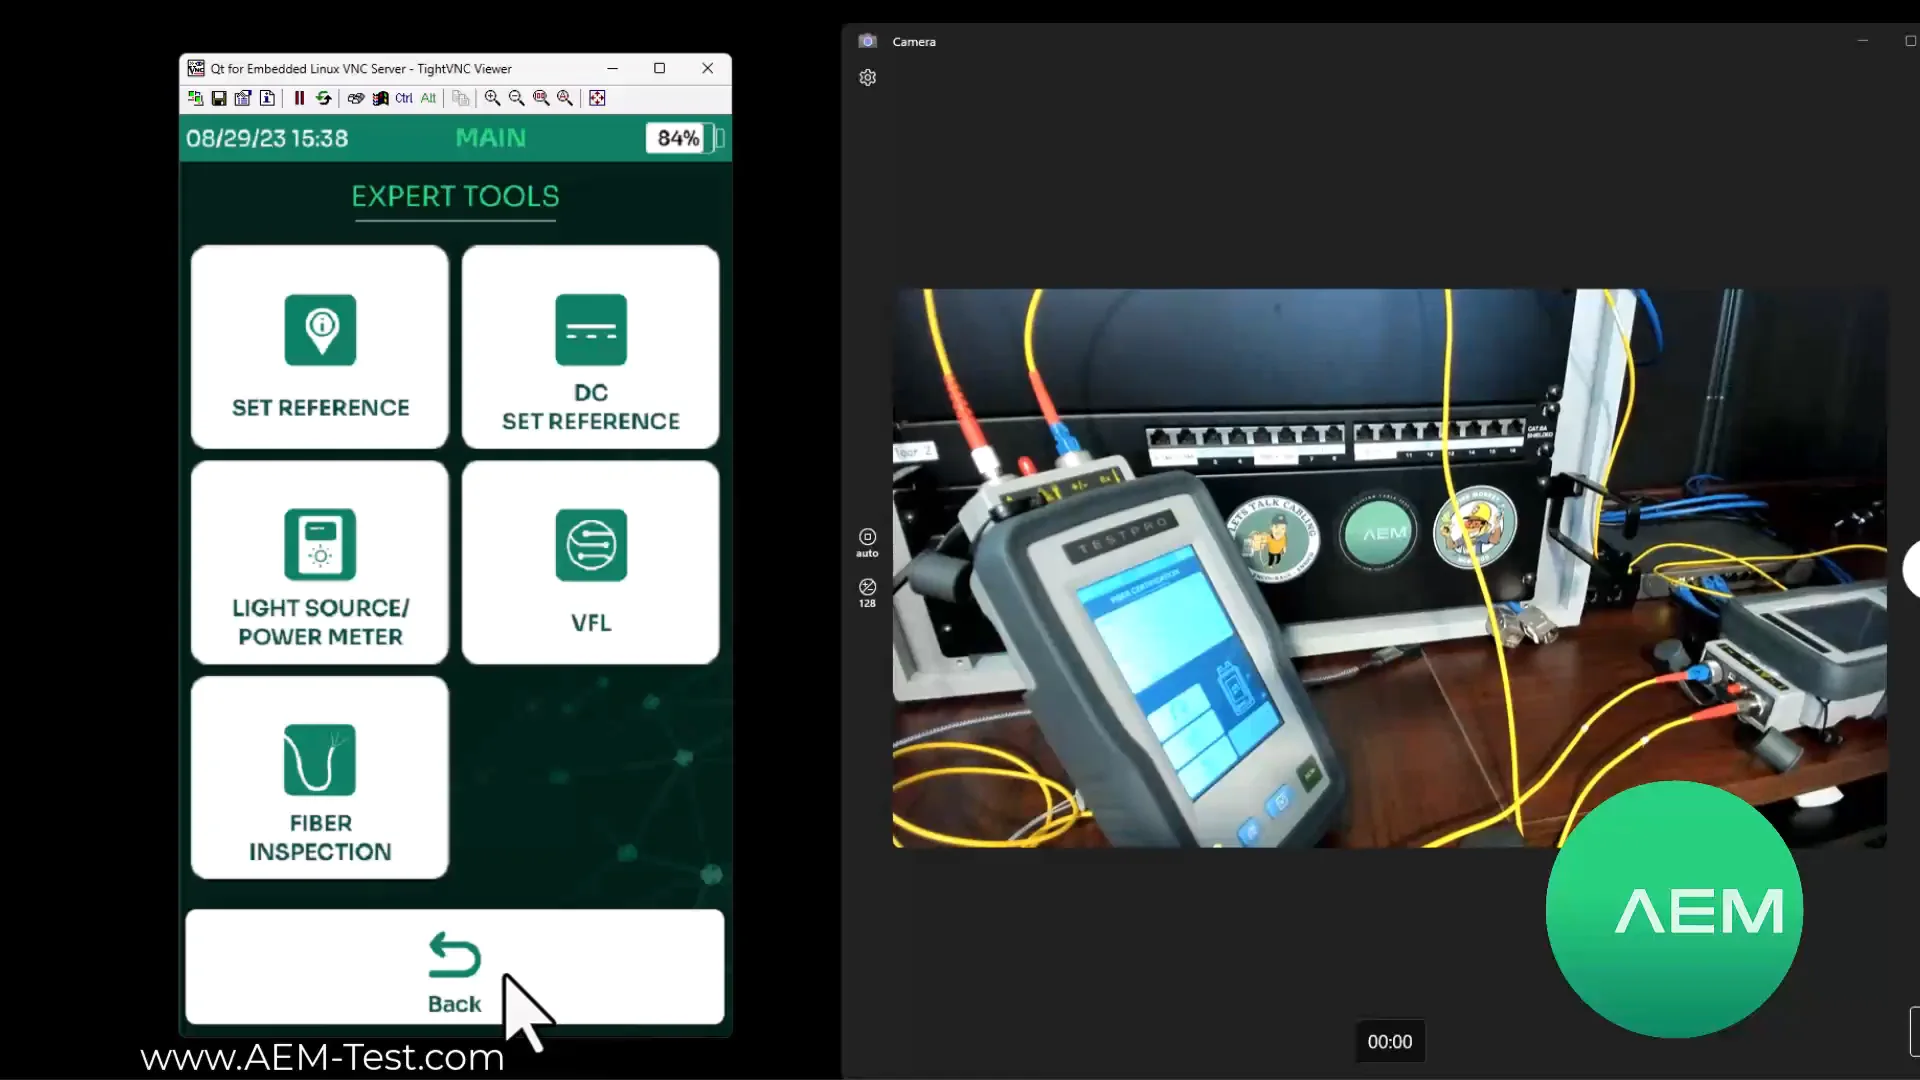
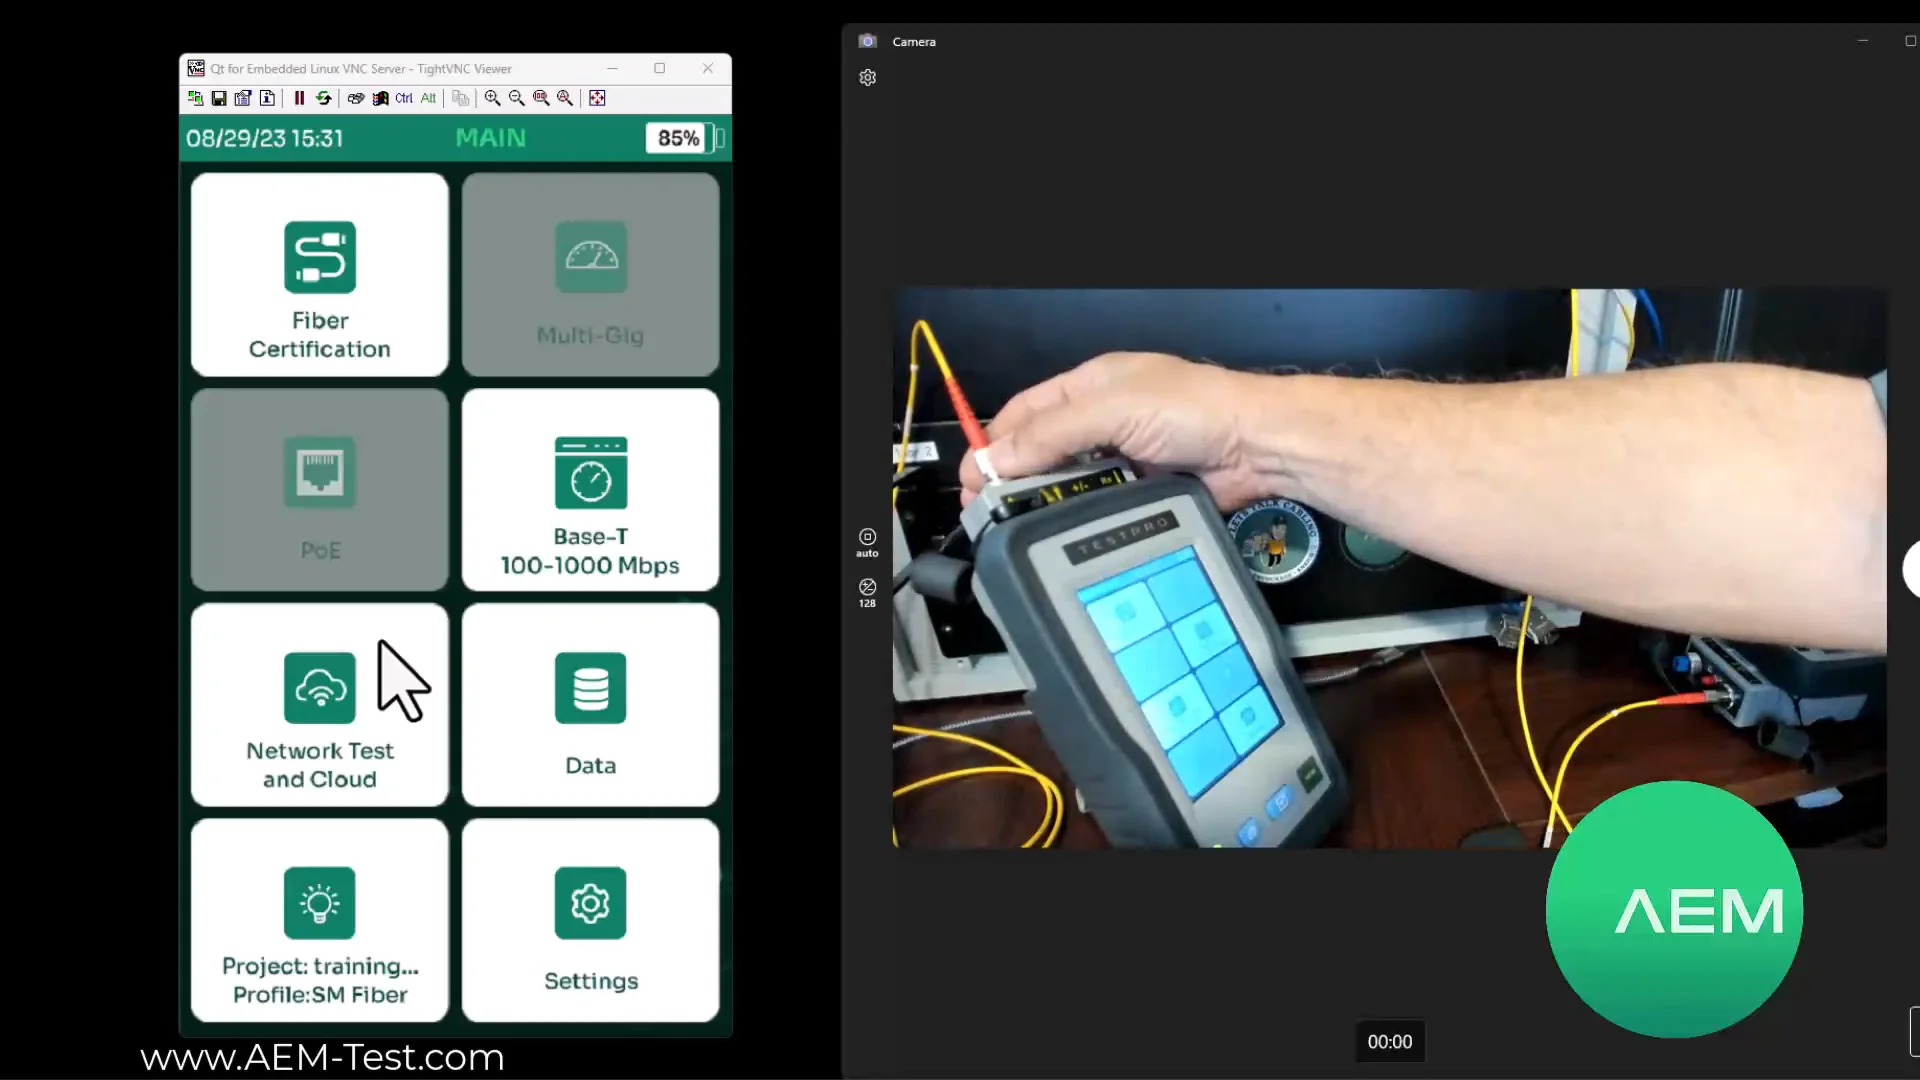
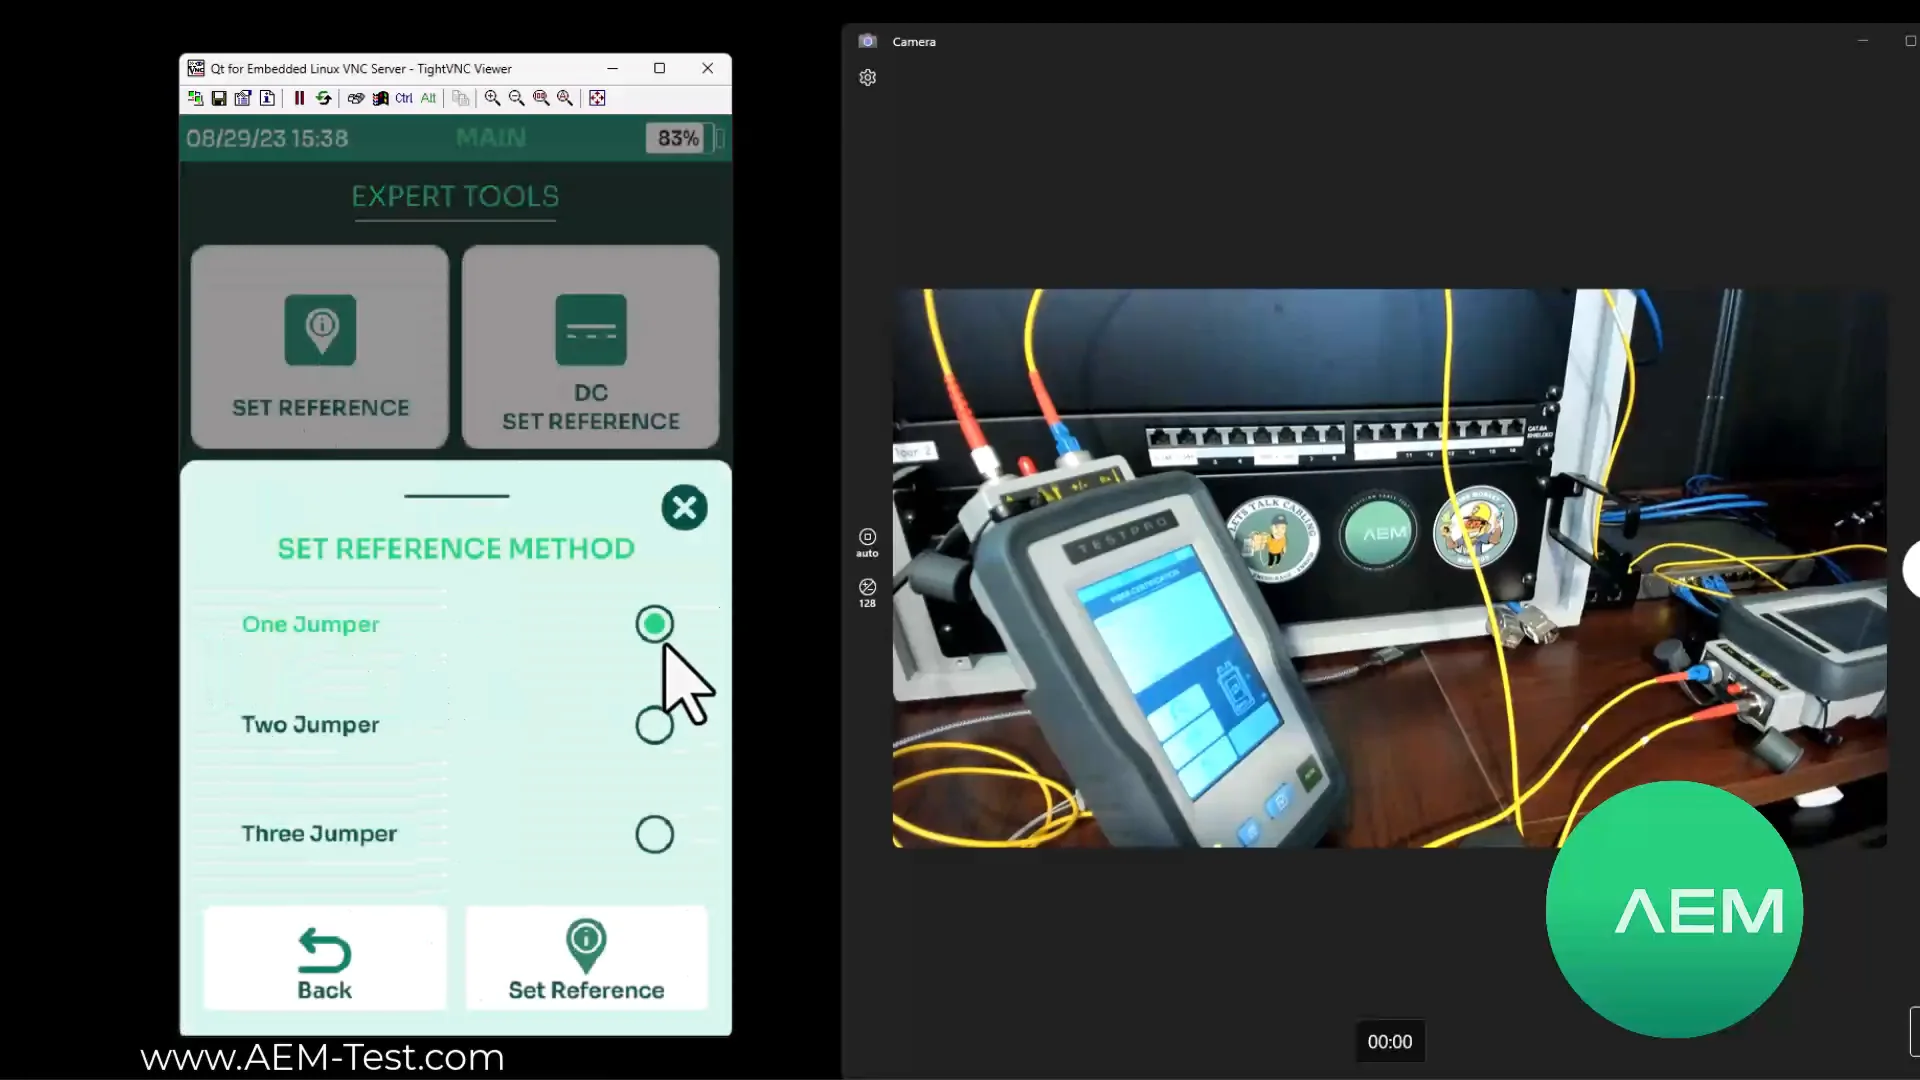
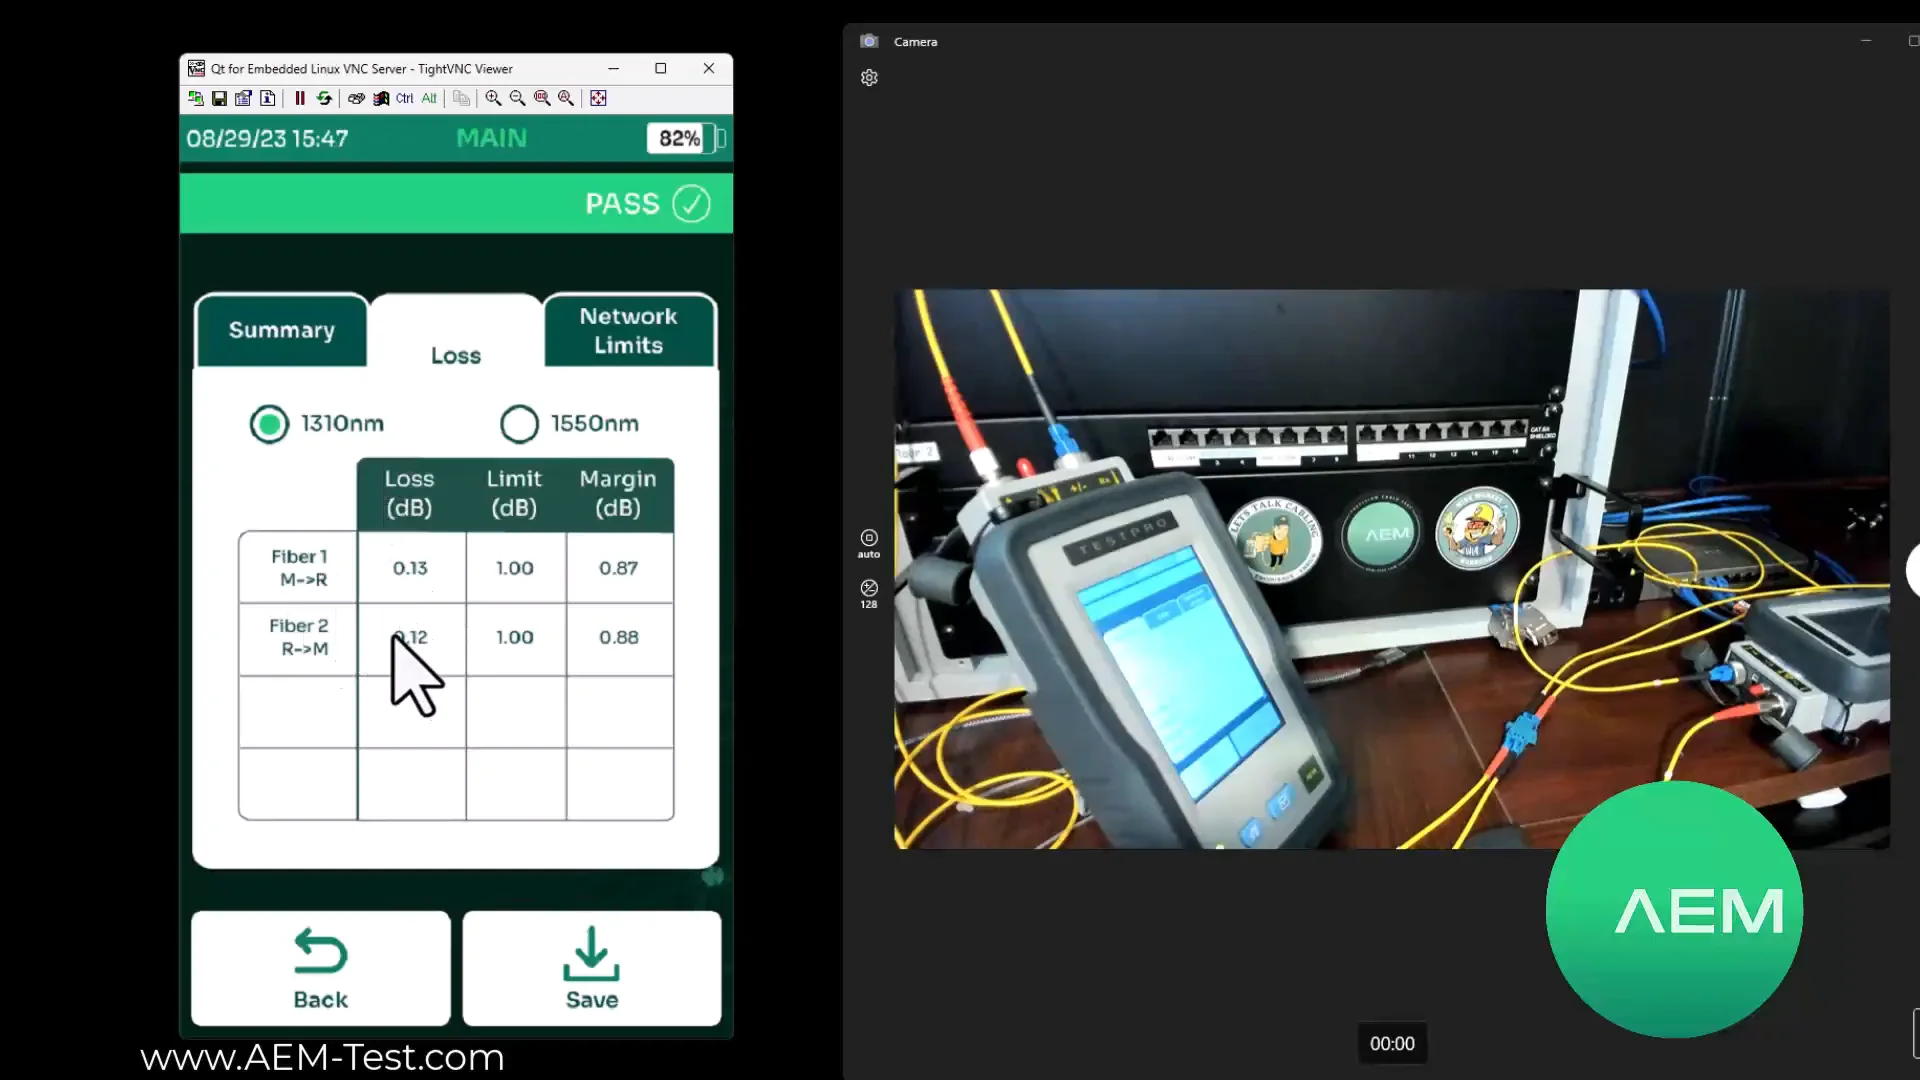
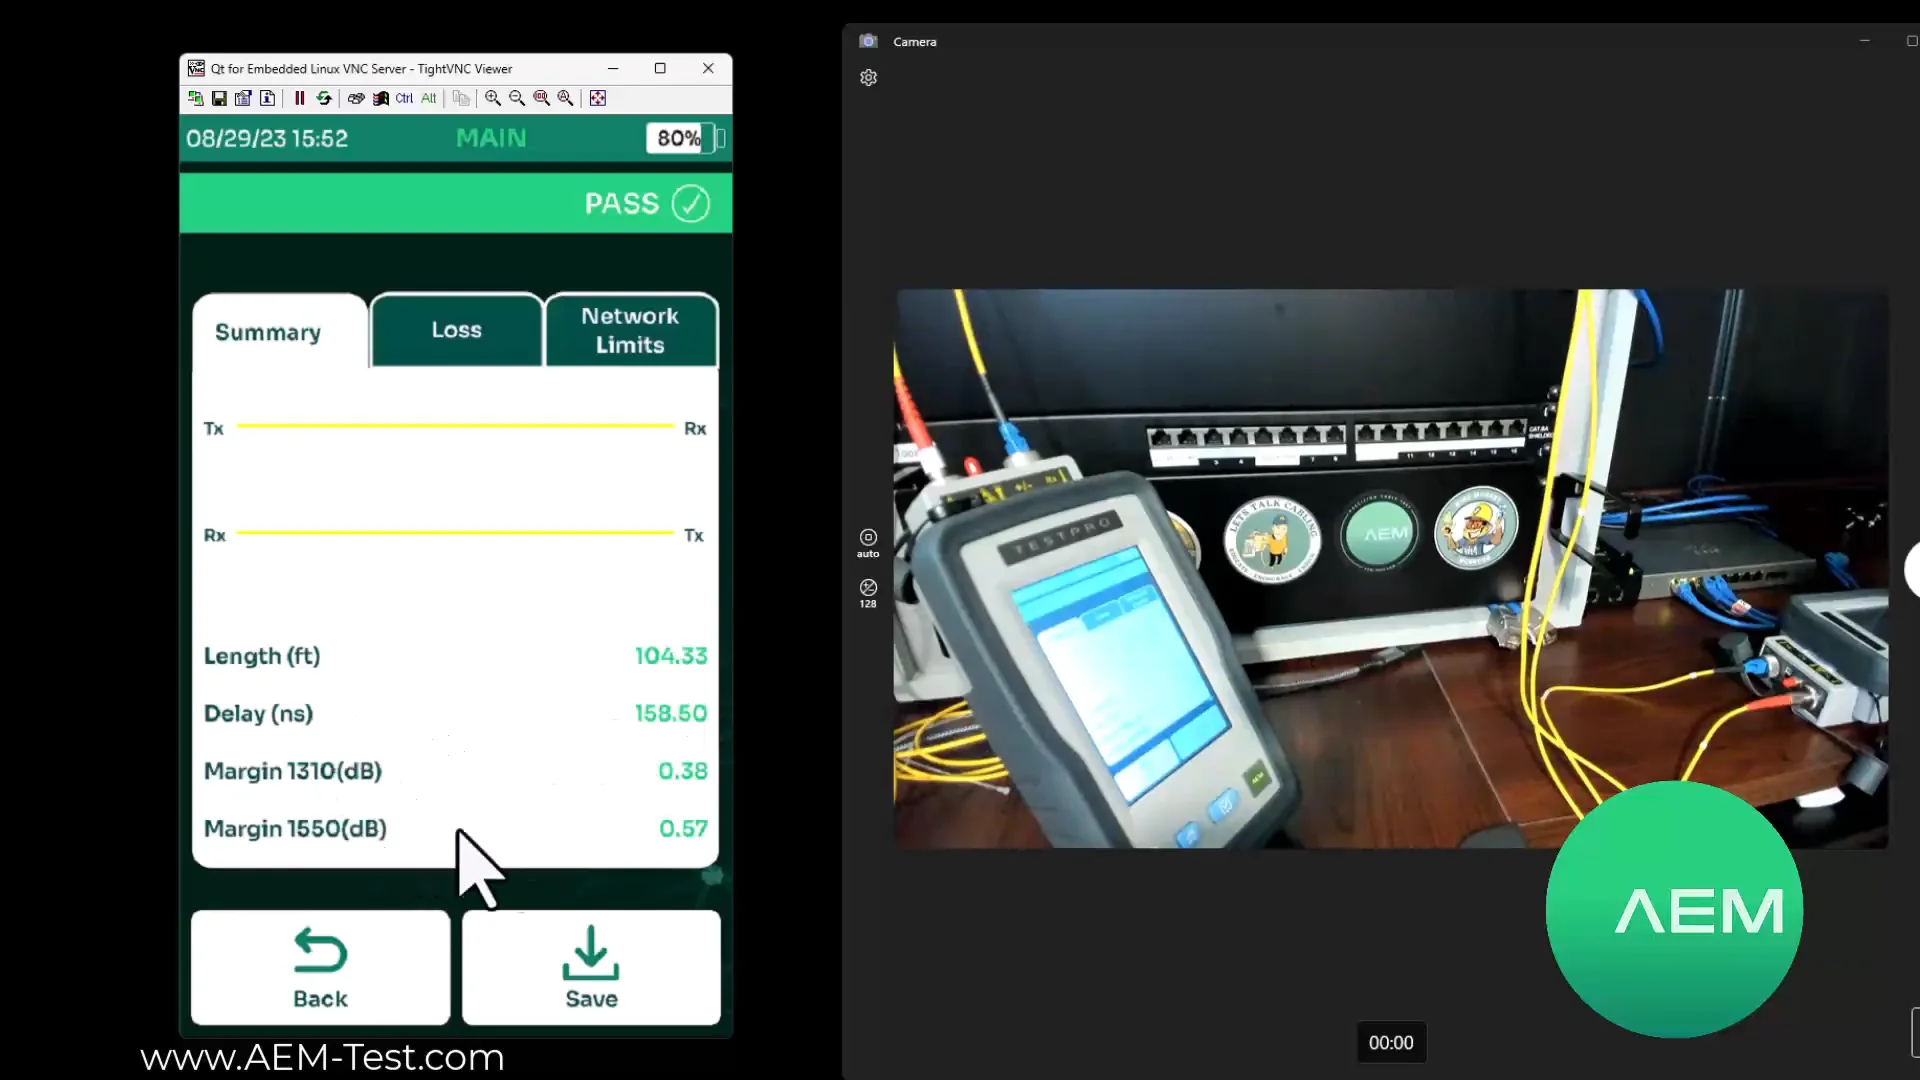
Follow the procedure on real TestPro screens.
Five key screens take you from fiber certification and the 1-jumper reference through TRC verification to the final result for the link under test.
Seven errors. One shared result: a bad zero.
Select an error to see what causes it and how to respond. Use this section as a ready-made team briefing before acceptance testing begins.
Acceptance testing readiness card.
Check off the essential items. A complete printable PDF version is included in the package.
Before the first AUTOTEST
Set a new reference if…
- a cord was disconnected from any Tx port;
- the tester or an adapter was powered off or disconnected;
- a test reference cord was replaced;
- TRC verification failed and any connection was changed;
- an unexplained negative result appears or the test batch begins to drift.
Tier 1 and Tier 2 answer different questions.
The reference-method number does not define the certification tier. Select the acceptance scope first, then match the reference method to the physical link topology.
Loss, length and polarity
Fast end-to-end evaluation against the selected limit with a PASS/FAIL record.
Events and their locations
The trace identifies splices, connectors, reflections and distance to a fault.
One jumper ≠ Tier 1
“Jumper” describes the reference setup. “Tier” describes certification scope.
Questions to settle before testing.
A compact check of the concepts most likely to produce a result that looks plausible but cannot be trusted.
When must the reference be set again?
After disconnecting Tx, replacing a TRC, reinstalling an adapter, power-cycling the tester, or changing the dual-ended/loopback configuration.
Does negative loss mean an exceptionally good link?
No. A passive link cannot amplify the signal. A clearly negative result usually indicates a reference error, changed connections or contamination.
Are −24 dBm and −4 dBm TRC-loss limits?
No. They are minimum received-power levels during Set Reference. The added-TRC verification uses separate criteria in dB.
Can I add a cord after a one-jumper reference?
Yes — on the Rx side. Inspect, clean, connect and verify it with AUTOTEST while leaving Tx untouched.
Practice the complete test before you head to the jobsite.
The free INTERLAB Certification Academy covers TestPro configuration, FAIL diagnostics, PoE, reporting, and OLTS fiber testing.